










The kitchen is an important space for daily cooking, but grease, food residue, and moisture can easily lead to grease buildup, dirt, and odors on kitchen appliances. Range hood filters can become increasingly clogged, oven interiors can accumulate charred grime, microwaves can retain food spills, and dishwashers and refrigerators may develop odors due to food residue or moisture accumulation.
If you only clean when stains become obvious, it not only increases the difficulty of cleaning but also might affect the performance of the appliances. Therefore, mastering the correct cleaning methods for kitchen appliances and developing a habit of regular maintenance can help keep the kitchen clean and hygienic, making daily cooking more pleasant and worry-free.
Why do kitchen appliances easily accumulate grease and odors?
Cooking fumes rise with heat and adhere to the range hood, stovetop, and surrounding surfaces. When grease cools, it forms a sticky film, gradually attracting dust and food particles, eventually becoming thick, heavy grime.
In addition to cooking fumes, the following factors can also lead to stains and odors on kitchen appliances:
- Food and sauces splashing out during heating.
- Food residue accumulating in the dishwasher filter.
- Food juices leaking in the refrigerator.
- Appliances remaining damp for extended periods.
- Grease and food residue repeatedly heated, turning into charred grime.
To reduce these problems, the most effective method is not to wait until the dirt thickens, but to perform a simple cleaning promptly after cooking and regularly deep clean the appliances.
What to pay attention to before cleaning kitchen appliances?
Before cleaning any kitchen appliance, you should first read the product manual to understand detachable parts, suitable cleaning agents, and correct maintenance methods. Different materials and models of appliances may have different cleaning requirements.
When cleaning, please note the following:
- Turn off the power before cleaning; unplug if necessary.
- Do not spray water or cleaning agents directly onto control panels, sockets, or ventilation areas.
- Use a soft cloth, sponge, or soft-bristled brush to avoid scratching the surface.
- Test new cleaning agents in an inconspicuous area first.
- Do not mix different types of cleaning agents.
- Thoroughly wipe dry appliances and accessories after cleaning.
Especially for kitchen appliances with electronic displays, touch panels, or smart functions, it is crucial to prevent water from seeping into the interior.
Range Hood Cleaning: Regularly maintain filters and oil cups
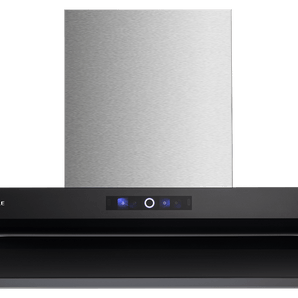
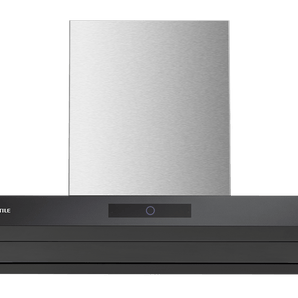
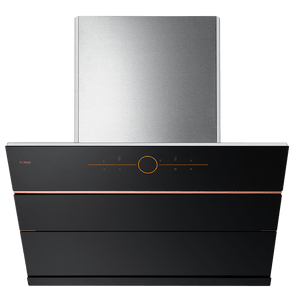
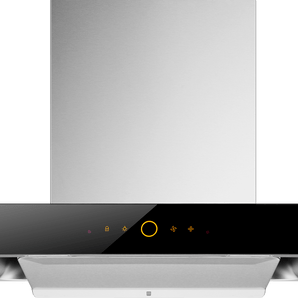
The range hood is the kitchen appliance most prone to grease buildup. Cooking fumes pass through the filter and oil collection areas, so these parts require regular inspection and cleaning.
Cleaning the Range Hood Exterior
After each cooking session, once the range hood surface has cooled or is still slightly warm, use a wrung-out damp cloth to wipe away surface grease. For more noticeable grease stains, you can use a neutral cleaner suitable for the material, spray it on a cloth first, then clean the range hood surface.
It is not recommended to spray cleaning agents directly onto the control panel, lights, or gaps in the appliance body to prevent liquid from seeping into the interior.
Cleaning the Range Hood Filter
Excessive grease in the filter can affect ventilation efficiency and leave lingering cooking odors in the kitchen. Follow these steps to clean:
- Turn off the range hood power and wait for the appliance to cool.
- Remove the filter according to the product manual.
- Soak the filter in warm water and a suitable amount of neutral detergent.
- Once the grease has softened, gently clean with a soft-bristled brush.
- Rinse with clean water and then wipe completely dry.
- Reinstall the filter only after it is thoroughly dry.
Whether a filter can be cleaned in a dishwasher depends on the product design and manual requirements; do not assume all filters are suitable for dishwasher use.
Cleaning the Oil Cup or Collection Tray
Waste oil in the oil cup should be emptied regularly to prevent prolonged grease accumulation and odor. When cleaning, first use a paper towel to absorb excess grease, then wash with warm water and detergent, and finally wipe dry or air dry.
If you notice a significant decrease in the range hood's suction power, abnormal operating sounds, or severe internal grease buildup, it is recommended to stop disassembling it yourself and arrange for professional inspection or maintenance.
Stovetop Cleaning: Promptly wipe away grease and food residue
If grease, soup spills, and seasonings on the stovetop are not cleaned promptly, they will become sticky when cool and even form stubborn charred grime that is difficult to remove.
After each cooking session, wait for the stovetop surface to cool to a safe temperature before wiping it with a soft, damp cloth. If there are grease stains, add a small amount of neutral detergent, wipe away the stains, then wipe clean with a water-dampened cloth, and finally dry with a dry cloth.
Glass stovetops are prone to fingerprints, water stains, and oily film. When cleaning, avoid using steel wool, rough scouring pads, or sharp tools to prevent scratching the surface. For stubborn charred grime, use specialized cleaning tools suitable for the stovetop material and follow the product manual.
If the grates are removable, soak them in warm water first. Once the grease softens, clean them with a soft brush. Before reassembling, ensure the grates and surrounding components are completely dry.
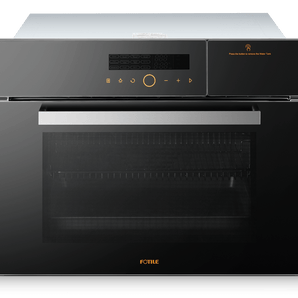
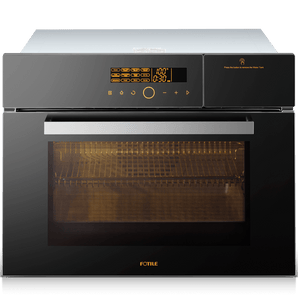
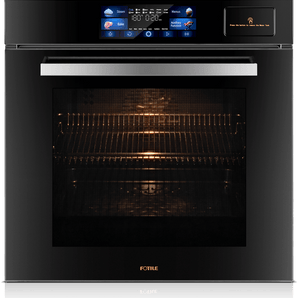
Steam Oven Cleaning: Prevent grease from turning into charred grime
Grease, sauces, and food crumbs inside the steam oven will be repeatedly heated at high temperatures, eventually forming charred grime over time, which can then produce smoke or odors during subsequent use.
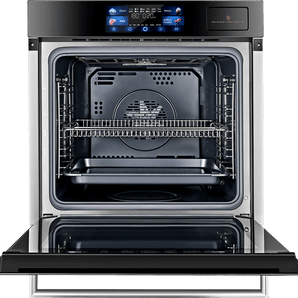
Steam Oven Cleaning Steps
- Turn off the power and wait for the oven to cool completely.
- Remove baking trays, racks, and other detachable accessories.
- First, clear any loose food debris from the interior.
- Use a cleaning agent suitable for the oven's material and a soft cloth.
- For dried-on grime, cover it with a damp cloth to soften it.
- Wipe away any cleaning agent residue with a clean, water-dampened cloth.
- Allow the inside of the steam oven to dry completely before using it again.
When cleaning, avoid spraying cleaning agents directly onto heating elements, fans, temperature sensors, and control panels. If the steam oven has a self-cleaning function, confirm its usage and safety requirements first.
To reduce grease splattering, use appropriate baking pans or splatter guards when baking high-fat foods. After cooking, promptly clean any obvious stains to prevent them from repeatedly heating and turning into charred grime.
Dishwasher Cleaning: Don't neglect the filter and door seal
Although dishwashers can automatically clean dishes, food debris and grease can still accumulate in the filter, spray arms, and door seals. If not cleaned for a long time, this can lead to odors, poor drainage, or reduced dishwashing effectiveness.
Cleaning the Drain Filter
Remove the drain filter according to the manual. After emptying food residue, wash it with warm water and a soft brush. Before reinstallation, ensure the filter is correctly secured.
Before each use of the dishwasher, you can also remove large food scraps from dishes to reduce the chance of clogging the filter and drainage system.
Checking the Spray Arms
If the spray arm nozzles are blocked by food debris or limescale, the water flow may weaken. You can remove the spray arms according to the product manual, check if the nozzles are clear, and remove any visible debris.
Cleaning the Door Seal
The door seal easily accumulates moisture, grease, and food residue. After each use, wipe away moisture with a dry cloth; regularly clean with a damp cloth to keep the seal dry.
After the wash cycle is complete, do not immediately close the door for an extended period. Allowing adequate ventilation helps reduce internal moisture and odors.
Refrigerator Deodorizing: Starting with Food Preservation
Refrigerator odors are usually related to expired food, leaking packaging, food juices, and humid environments. To effectively reduce odors, you should first identify the source, rather than just using scented products to temporarily mask them.
Refrigerator Cleaning Method
- Remove all food from the refrigerator and check expiration dates.
- Properly dispose of spoiled or damaged packaged food.
- Remove detachable shelves and drawers.
- Clean the interior walls with a soft damp cloth and a suitable neutral cleaner.
- Clean the door seals, drawer bottoms, and corners.
- Wipe away cleaning agent residue with a clean cloth, then dry with a dry cloth.
- Only reorganize food after confirming the refrigerator interior is dry.
Food should be placed in sealed containers, and raw and cooked foods should be stored separately. If food juices spill, wipe them up immediately to prevent stains from drying and causing odors.
It's important to note that different refrigerator shelf materials have varying tolerances to temperature changes. Glass shelves removed from the refrigerator should not be placed directly into hot water for cleaning, as this can cause damage due to thermal shock.
Different stains require different treatment methods
Cleaning agents should be selected according to the appliance manual and surface material. Glass, stainless steel, coatings, rubber seals, and electronic panels have different tolerances, and overly abrasive or corrosive products should not be used.
Develop simple cleaning habits to reduce future deep cleaning efforts
Keeping kitchen appliances clean doesn't necessarily require deep cleaning every day. Simply wiping away grease stains promptly after cooking, and regularly cleaning the range hood filter, dishwasher filter, and refrigerator accessories can effectively reduce dirt accumulation.
When cooking, you can also use pot lids or splatter guards to reduce grease splatters; use appropriate microwave covers when heating food; and store food in sealed containers. These simple habits can reduce grease, grime, and odors at their source, making kitchen appliances easier to keep clean.
Summary
The key to cleaning kitchen appliances is not just to deal with surface stains, but also to regularly clean filters, drainage areas, door seals, and food residues. By following the three steps of "prompt wiping, regular cleaning, and correct maintenance," you can reduce grease, grime, and odors, keeping your kitchen environment clean and comfortable.
For different kitchen appliances such as range hoods, stovetops, steam ovens, dishwashers, and refrigerators, you should choose appropriate cleaning tools and methods according to the product manual. Correct cleaning habits not only help maintain the appearance and performance of appliances but also make daily cooking more pleasant and worry-free.